Stephanie Jasken, Stationery Designer at Copper & Carbon, shared with us some of her wisdom on the craft of wax sealing. Read how this beautifulart is changing the way wedding invitations look and learn how to create your very own wax seal design!
As we watch the world get smaller and smaller due to technological advances with convenient apps that can streamline wedding planning as well as make communication with your guests nearly instantaneous, it leaves something to be desired for those of us old souls who still get excited when a beautiful envelope arrives in the box via snail mail. There is just something captivating about an actual piece of mail- a sumptuous cotton envelope addressed to its recipients in rich calligraphic scrawl- that makes it feel like you are there, personally inviting them to this once-in-a-lifetime event celebrating your upcoming marriage. In a world where convenience is king and process optimization is just as much a part of managing your home life as it is at the office, a beautiful piece of wedding stationery can literally make your guests drop whatever task they were about to do after grabbing the mail, and indulge in immersing themselves into the moment as they carefully examine and open the special piece of mail they have just received from you.

The details selected to be part of your wedding suite help shape the experience your guests will have as they open your wedding invitation.
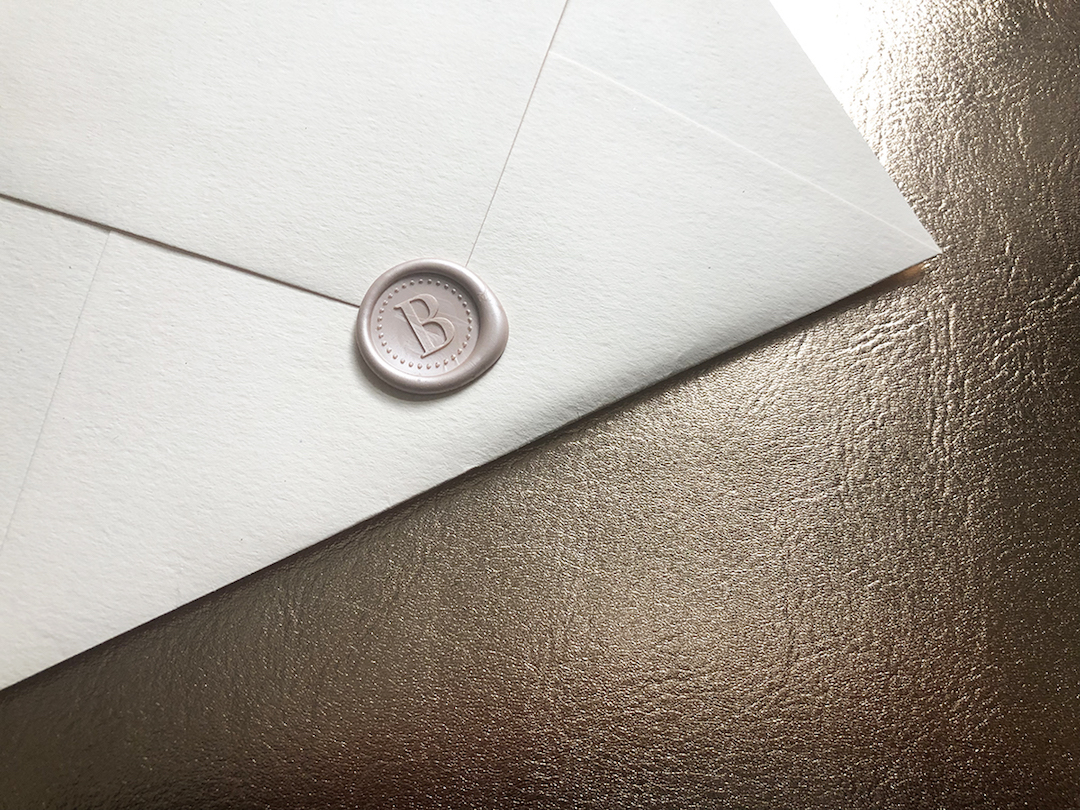
Currently trending, but no stranger to the stationery world as it’s been around since the Middle Ages, is the wax seal. Once upon a time, these were used to physically seal a letter or envelope shut. Fast forward to 2018 and we have peel & seal or lick & stick adhesive on the flap of any envelope that may cross your desk, so it’s safe to say sealing wax isn’t a necessary office supply at this point in time.

However, beyond their practical purpose of concealing a message until it reached the hands of its intended recipient by being fairly tamper-evident, wax seals also often verified the identity of the sender: a noble or person of importance would generally possess their own distinctive signet ring, which would be pressed into the hot wax before it hardened to leave the bearer’s unique impression- the seal served as an early form of identity fraud protection because replicating these intricate designs to create false stamps could be even more difficult than forging a person’s signature. And so the use of a wax seal as a personal expression came to be commonplace in stationery, with individuals choosing their own symbols and initials for the seal designs themselves, and then also being able to select the color of the wax used as well.
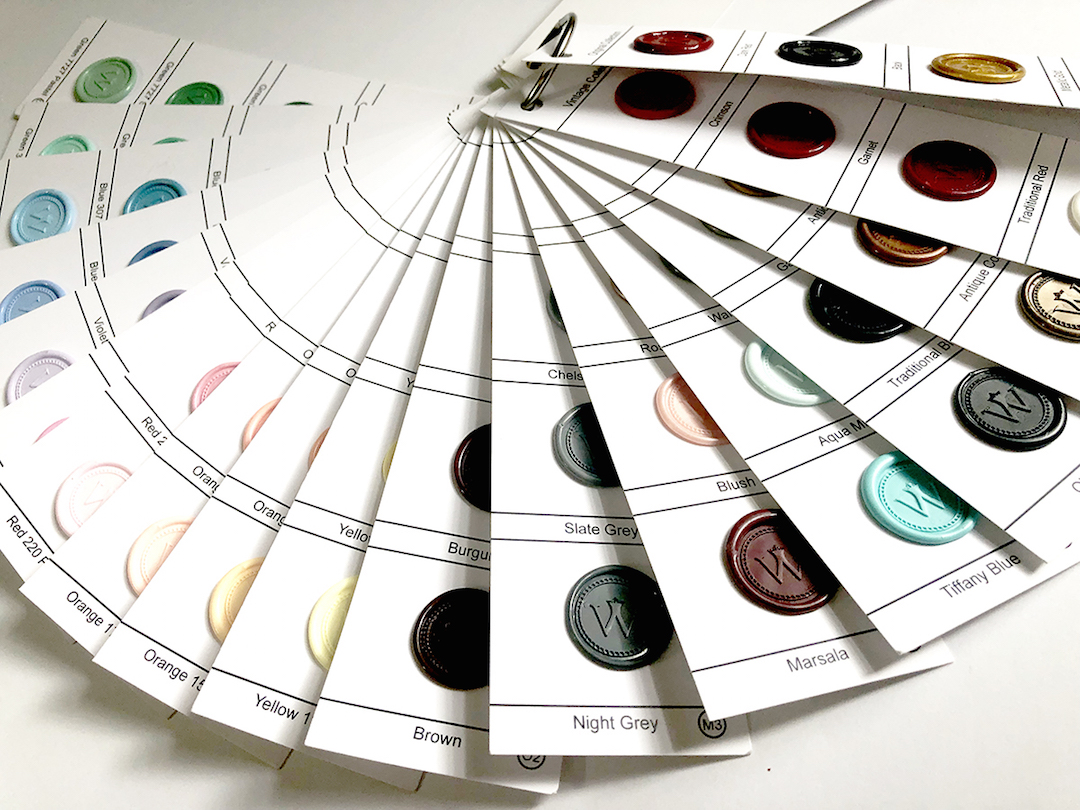
Now in the 21st century, individuals and couples are opting to design their own seals for wedding stationery, holiday cards, graduations, birth announcements, or stationery for really any life event. Specifically for weddings, the use of monograms for either the first initials of both individuals, or one letter to represent the new shared surname of a couple is a popular seal choice. Vines, branches, wreaths, floral or other nature-inspired imagery are also very much in-demand. For destination weddings, iconic landscapes or even city-scapes that feature a distinctive building can be a really unique touch. Wax seals with monograms or other symbols can be purchased at lots of retailers online, such as Amazon, and custom stamps can be purchased from many different sellers on Etsy, or waxseals.com.

Ok, so you are totally sold on how amazing these look, and what a perfect detail these will be for your own wedding invitation suite, right? Excellent. But before you freak out worrying how on earth you are going to make 150 of these wax seals without burning off all your fingertips and creating a big mess, let’s talk about all the different ways wax seals can be obtained.

Method 1: Wax Seal Candlesticks – Perhaps the most traditional method, this technique uses a candle-style wax, where you light the wick and dribble the hot wax onto your paper or envelope as the candle melts. Once enough molten wax has accumulated on your paper, you would then take your metal stamp (I keep mine on ice while I’m not using it- cooling the metal helps decrease the time it takes for the liquid wax to solidify so you can remove the stamp, leaving the hardened seal in place). This method is great if you’re just doing one or a couple seals at a time.
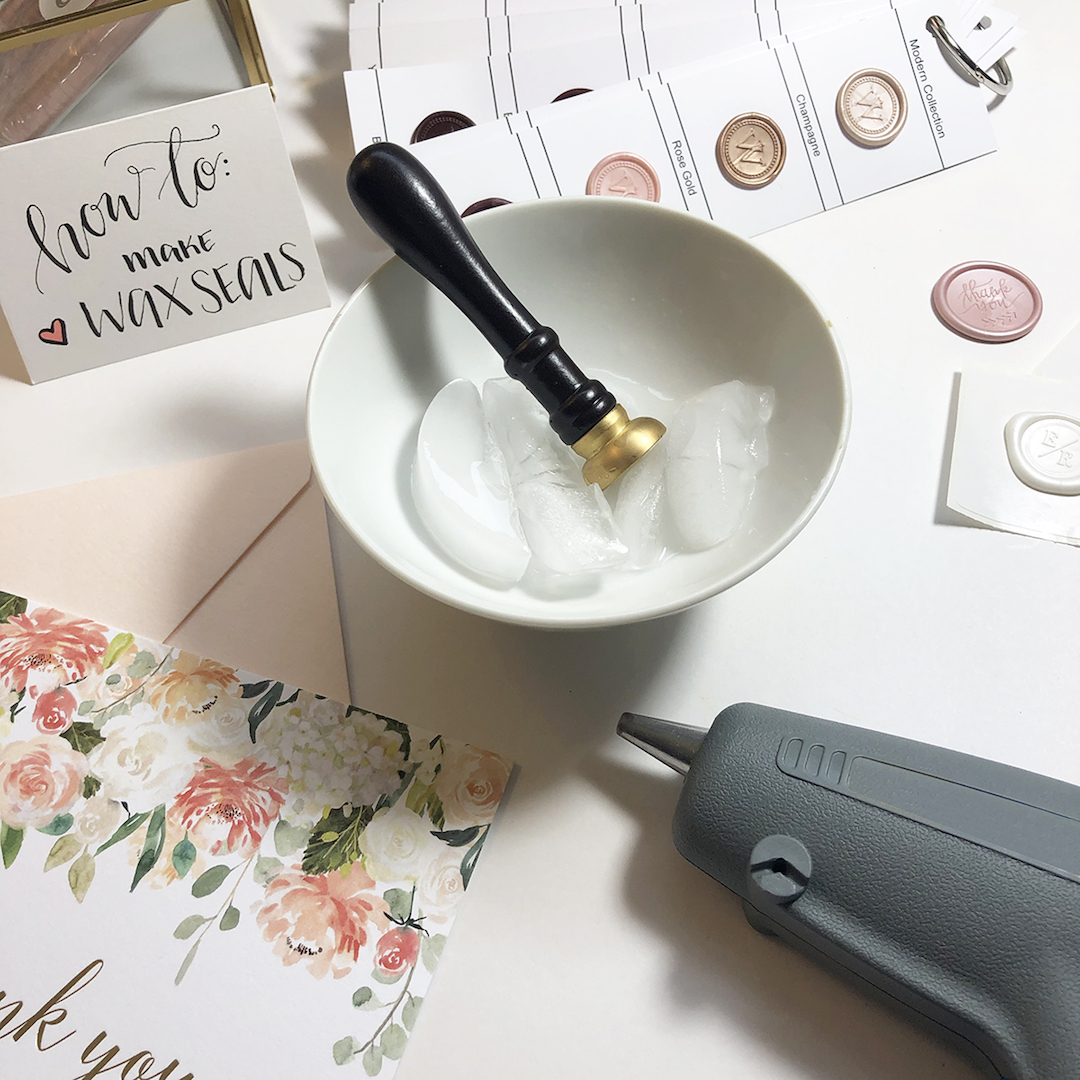
Method 2: Wax Seal Beads & Spoon – A way to ensure your wax melts more uniformly than waiting for a candle to drip enough hot wax onto your project, a metal spoon held over an open flame with wax beads (read: pellets) that melt into a hot liquid which you can then pour onto your project before pressing the stamp (which you can again keep on ice between stamps to decrease the time it takes for the wax to harden) into the molten wax. Again, this is great for a couple seals at a time, and the spoon and beads definitely make amazing Instagram post worth accessories!

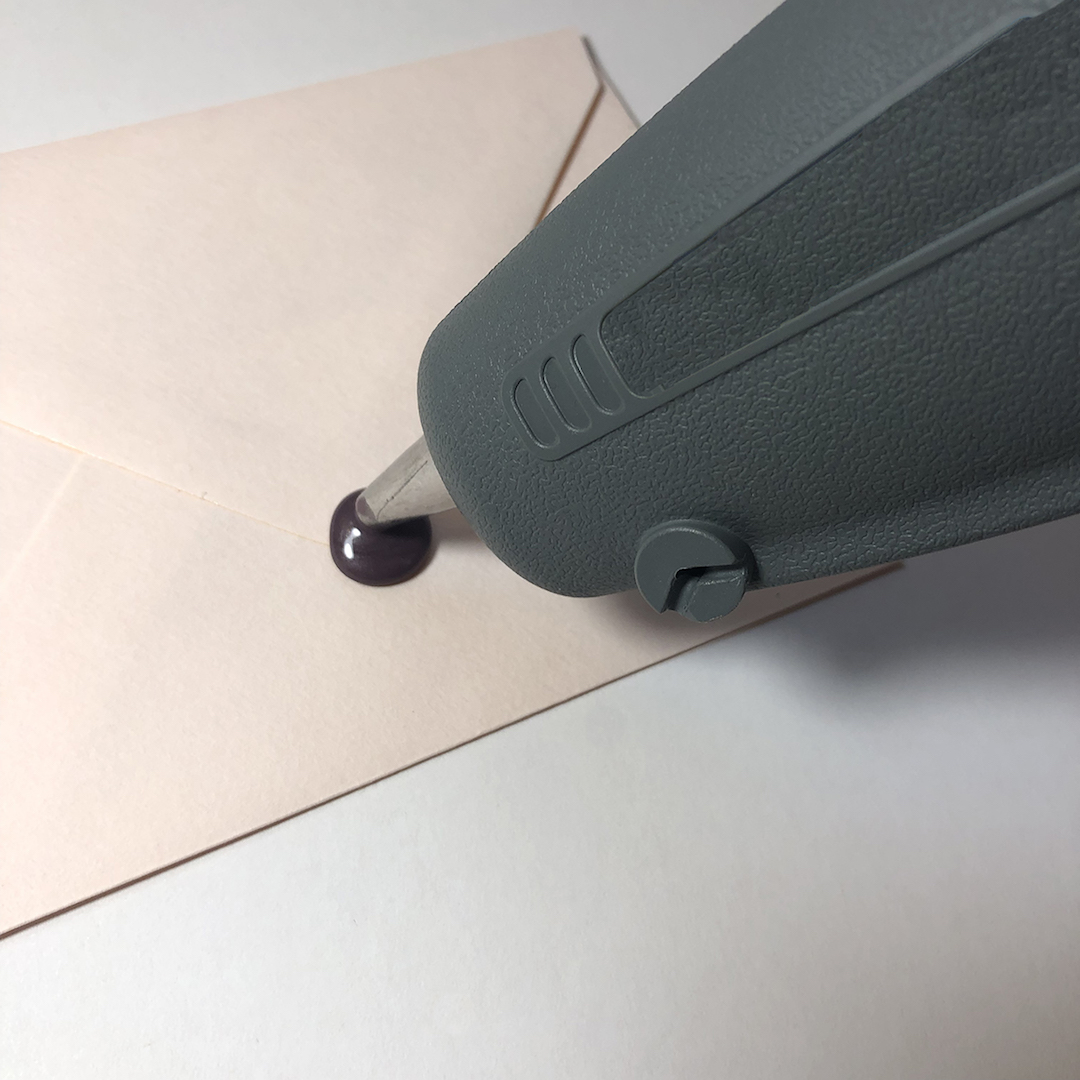
Method 3: Wax Seal Glue Gun Sticks – This is my favorite method when I have to make a bunch of wax seals (think 150 wedding invites, place cards, menus etc.) – many retailers offer glue gun sized sticks which fit into a standard glue gun. These are sooo slick! Since you’re already on your way to being a wax seal pro, I know your stamp is sitting on a piece of ice as you’re getting your glue gun ready so it will be nice and cold when you’re ready to stamp. Once your gun is to temperature, it just takes a simple pull of the trigger to release a nice blob of wax in a very controlled manner onto your project. I definitely recommend setting out all your envelopes in rows on your workspace so you can easily just go down the line and knock these out assembly-line style: glue gun – stamp – next, glue gun – stamp – next, until they are done, making sure to place your stamp back on the ice as you’re applying the wax to each piece of paper (or whatever material you are applying the seals to!). This technique creates a little more waste than the other two, since you’ll have wax left in the chamber of the glue gun at the end of your project that you’ll have to clear out using another color of wax if you plan to switch colors.
If you’re a crafter and glue guns are something you use frequently for other projects, I would also strongly recommend having a separate glue gun for glue versus sealing wax, and even buying multiple glue guns if you plan on using different colors of wax- craft stores like Michaels have glue guns for less than $10, so it’s a minimal investment to ensure your wax seals look perfect. These three methods all obviously require quite a bit of time, as well as some skill; it’s definitely easy to learn if you’re willing to invest some time, but it will take patience as well as a willingness for some good old-fashioned trial and error!
But are you”¦ not feeling crafty? Too busy to find the time to figure this out? Or just plain not interested in learning how to make wax seals but you want them for your wedding? Well, fear not! And feel free to skip ahead to Method #4: pre-made, peel and stick (YES: PEEL AND STICK) custom wax seals!
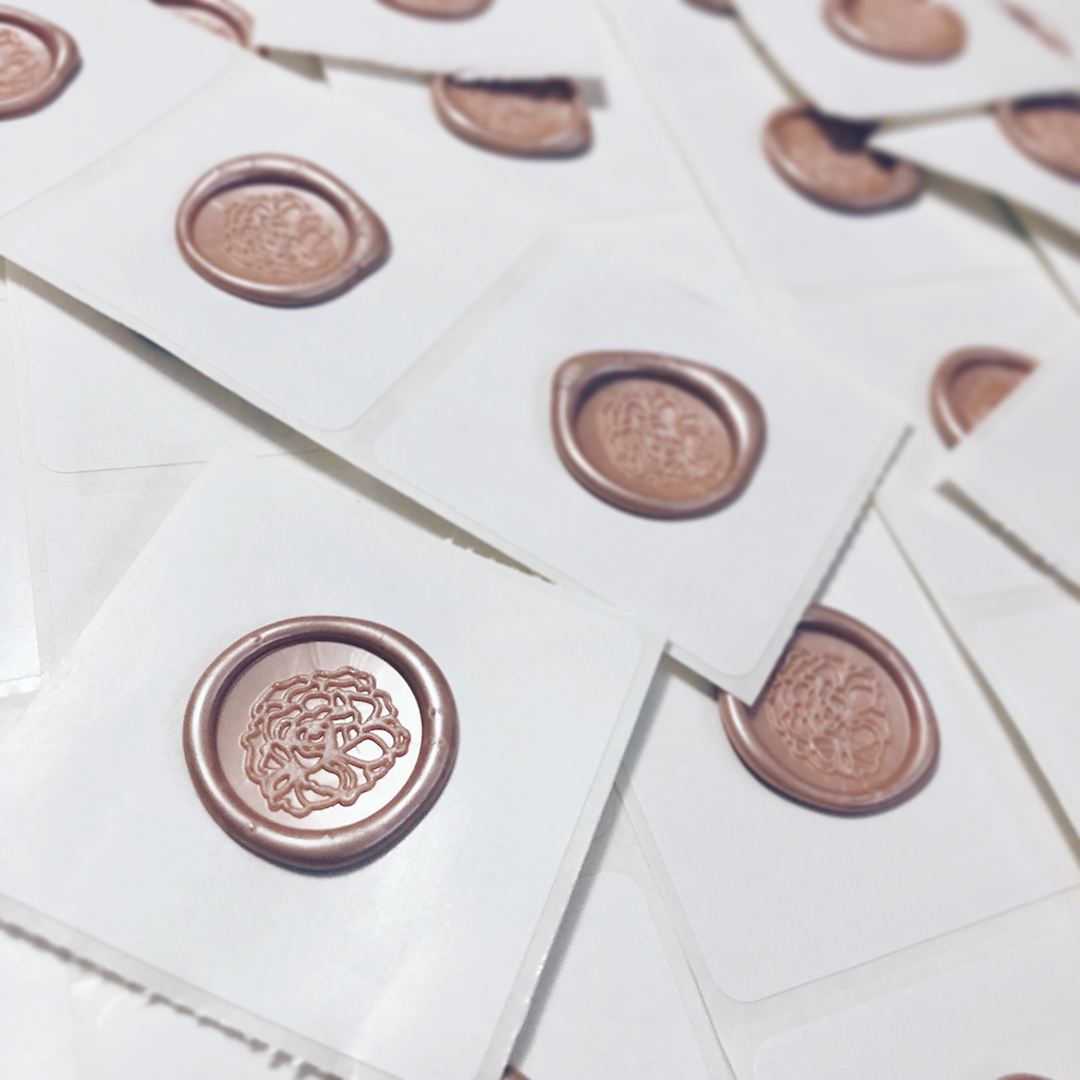
Method 4: Self Adhesive Wax Seals – Online retailers like artisaire.com offer a service where you go online and select a design such as a floral motif or a monogram, and then choose a color that matches the palette for your wedding (they have tons of colors!), and then tell them the quantity you need, and they will press your waxseals for you, which will arrive with an adhesive on the back of each one so you can literally peel it off the backing, and stick it to your envelope- voila! It’s that simple. And don’t worry about these looking “mass manufactured”- when you select the design and color you want, you also get to choose the edge style: there is a modern option (no blobs around the edges for a clean and contemporary look), or an organic option (slightly blobby around the edges so each one is unique and looks like it was handmade). You can even take the customization one step further here, and upload your own artwork to have your wax seals made with a completely unique and custom design.
However you decide to make or acquire your wax seals, there are also two important things to know if you are planning to use these on your invitations, which will go through the mail:
1. Use an outer envelope (yes, two envelopes!): Your invitation will go into an envelope which will get the wax seal, and then that envelope will go into a slightly larger envelope which will bear the address of your recipient. Inner and outer envelopes used to be a lot more common, and are still a popular design element for very formal invitation suites, but are making a comeback for couples who opt to use wax seals on their invitations as the outer envelope provides protection to help make sure the wax seals arrive to their recipients intact. The use of two envelopes is definitely going to add an element of drama to your invites, and can make your suite seem a little bit *extra*, but it’s worth the added effort to make sure your beautiful wax seals arrive to your guests still looking pretty!
Using two envelopes can also create an opportunity for you to have some fun with addressing your recipients: one couple I designed invitations for last summer used formal salutations on the outer envelopes like “Mr. & Mrs.”, but then had playful, informal greetings on the inner envelope such as nicknames. These informal salutations were not only funny, but also made each invitation more personal because it showed that the couple had taken time to think specifically about how to make invitation special for each recipient.

2. Plan on extra postage: Standard United States Postal Service (USPS) stamps are good for mailing a piece of mail that is one ounce (at the time this blog post was written, a stamp for a one-ounce piece of mail is $0.50). Wax seals, extra envelopes, and other design details like ribbon, belly bands, twine etc., can make a wedding invitation heavier than an ounce, and then requires extra postage. Additionally, you should ask your local post office to “hand-cancel” your invitations instead of putting them through the mail-sorting machine to be cancelled (the stamp that puts the little wavy lines across your postage stamp to indicated it has been used) to protect your wax seals further. Often, there is a fee or extra postage incurred for this service, so I highly recommend bringing your invitation to the post office and having them weigh it to determine the the postage you need. This way, you can purchase stamps accordingly to avoid showing up to mail all of your invitations only to spend an hour there peeling and sticking additional stamps!
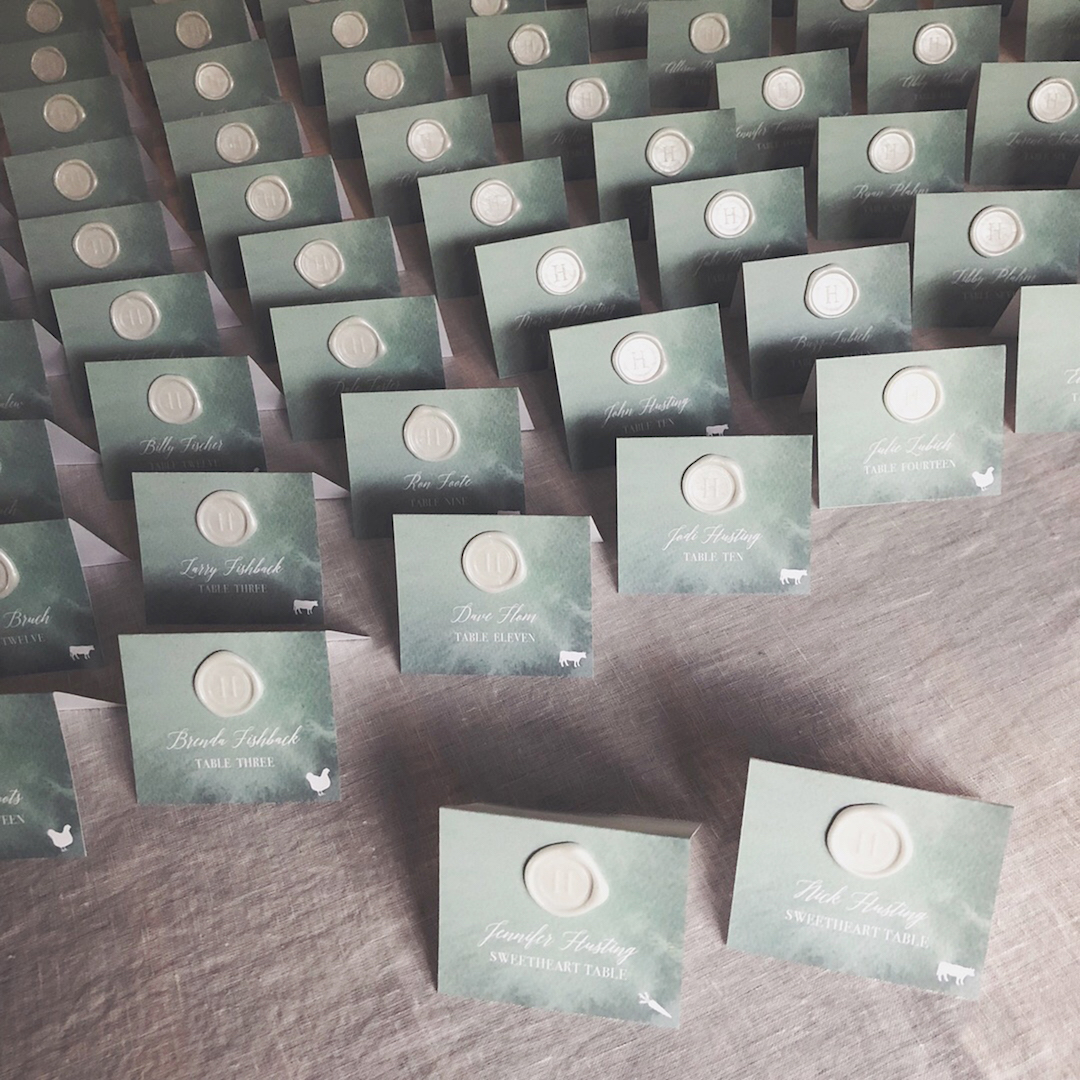
Either instead of, or in addition to, using wax seals on your wedding invitations, incorporating them into your wedding day can be a really fun way to elevate your decor. Placing wax seals on each guest’s place card, menu, or favor box adds a really unique element that is very eye-catching. Your guests will notice these pretty little details, and it will be a great conversation starter at your tables, in addition to being a lovely keepsake for your guests to take home with them as a souvenir. No matter how you choose to use them, wax seals are a gorgeous detail to add to your wedding celebration, and a trend that isn’t going away any time soon!
Let’s give Copper & Carbon a big thank you for sharing so much wisdom and tips with us by following them on Instagram, @copperandcarbon! Or by visiting them at The Market on Sunday, February 17th!
If you have any questions or want to know more about Copper & Carbon, check them out here under our Stationery & Invitation category.